Saturday, October 8, 2011

Festive Fun for the Fall

Yeah! It's Autumn! I've already made my first apple crisp and corn chowder. I've also been busy with some fun fall projects. Last weekend my mom and two younger sisters were in town, so we set up shop in the basement and went to town.

So... this first project is from last year, but somehow it didn't make the blog. This is our Hochstrasser Halloween Countdown! Each box is filled with... CANDY of course! I used a canvas as the backboard and painted it green and sprayed glitter on it. I did all the decorating with a Halloween themed scrapbook pack I got from my Grandparents. I believe the S.E.I outlet in Providence has a good deal on fall paper right now. The boxes are those clear wedding favor boxes you can buy at Michael's. Using my staple gun I attached the ribbon to the top, and now it is hanging ready to be opened.

I had to reattach some of the boxes this year after the move... nothing my glue gun can't handle though!

Okay... so I had some left over Halloween Paper and I saw this idea on the Super Saturday's With On The Avenue blog I follow. And sure, I already have a Halloween Countdown, but I just loved the idea too much to pass it up.

I couldn't decide if I wanted to count down or up, so the base block is reversible so I can do it different each year if I want to. Thanks to my Super Smart sister Wendy the blocks can count down from 31, not just from 20. Tricky stuff.

My mom came up with this idea and had us put it on the list of things to do last weekend. These beauties are made from glass jars, tissue paper and mod podge. Oh yeah, and a little glitter too!
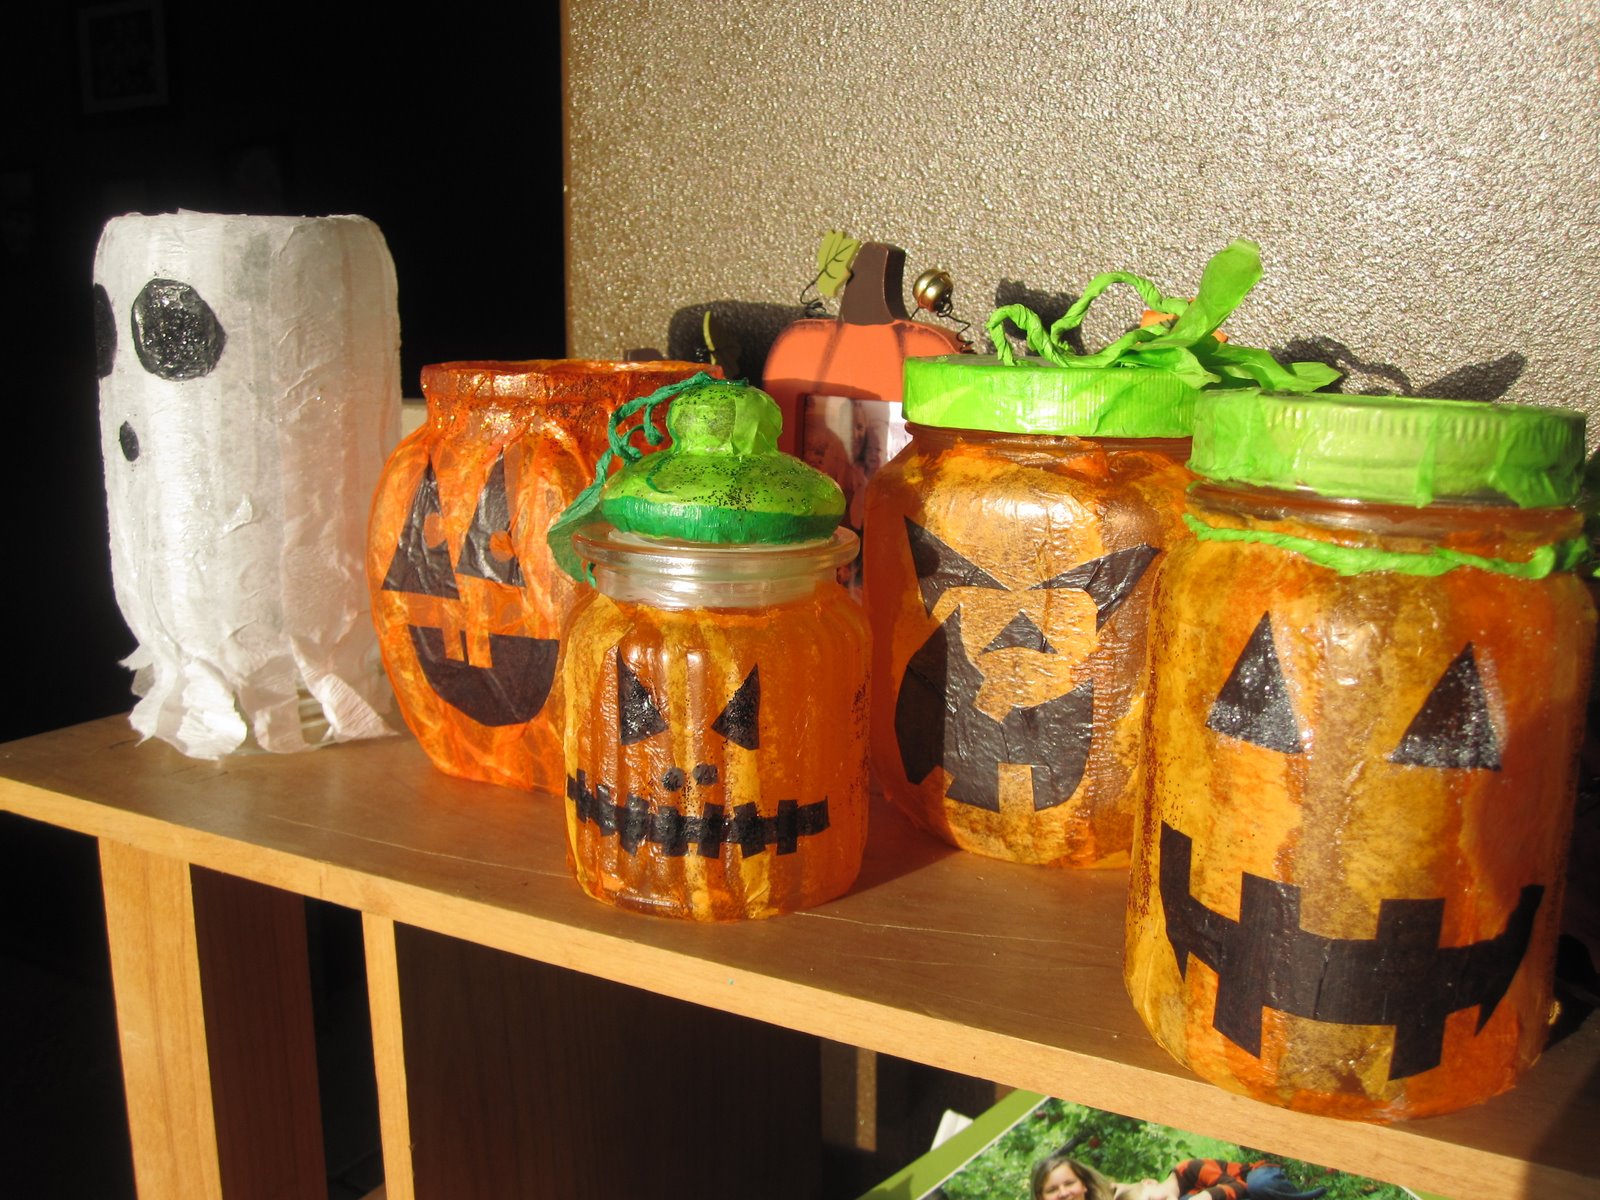
Any size jar will do, and if you don't have tissue paper we found that crepe paper will work just as well. These would be darling with an LED candle inside them too.

My door is no longer naked! Yeah! I have officially made my first wreath. I went to Hobby Lobby and bought a little of this and a little of that. At home I trimmed, and fussed and weaseled everything into just the right place.

I even added a monarch butterfly.

Here is another idea from Mom and Wendy. They showed up at my house with lovely white pumpkins.

We got out our tissue paper, mod podge and glitter again and got crafty.

I was surprised at how different each of ours turned out.

We had a great weekend together, and we sure missed you Melissa! It was hard taking a sisters picture without you.
Posted by Picasa

Monday, September 12, 2011

Hospital Survival Kit

Today my Grandpa went in for a difficult surgery. The surgery went well, but he is in for a long recovery. My Grandma and Grandpa are my heroes and I look up to them so much. I don't like to think of Grandpa in a hospital. Hospitals are just not very fun places, so with the help of my boys we put together a Hospital Survival Kit for him with "hand-made" flowers and all!

To "tie" everything together I decided to go with a color scheme. To keep it simple I just went with GREEN. I don't think the world could have too much green satin ribbon. It just makes me happy! (and happy is good when you are in the hospital!)

The tag on these slippers says "Happy Feet = Happy Heart". So true...

"Shower Power" As much fun as the hospital generic soap is, I thought a little pampering was in order with this sponge, soap and shampoo pack.

"Game Time!" I had no idea there were so many different ways to play "word finds"! This really could provide hours of entertainment!

Here is a prescription worth taking! Lemon Drops! Grandpa has always had a stash of lemon drops in his office so I thought they would be a great little treat to include! Real Happy Pills!

Staying Hydrated is always important, and so is not mixing up your water bottle with someone else's! I don't think that will be a problem for Grandpa with this water bottle personalized with vinyl letters.

I don't know that any of this will really make a difference or help Grandpa recover better. I hope it does. It makes me feel better though, because I know he knows I care.
Love you Grandpa!

Tuesday, August 16, 2011

Summer Quilt

IT'S DONE!! Today, with sore fingers from binding, I finished my summer quilt! I started this quilt back in April shortly after we moved here to Logan and today I completed it! Woot! Woot!

This quilt is made up of 12 squares. It's not large, but the largest quilt that I have ever attempted to quilt on my little Maytag sewing machine. It was a little more work maneuvering all the fabric around, but totally worth the effort!

I haven't decided just what I'm going to do with this quilt. I knew going into it that I was making it for me. I'm so delighted with how it turned out that it seems like I should just hang it on the wall... but I really want to use it. I think that perhaps after all the kids are in bed it will be my t.v watching quilt... as long as I'm not eating ice cream at the same time...
There is just something wonderful about the wrinkly feeling of a quilt in your hands. It would be a shame to waste that and never use it.

Each square is a basic "Roman Square". I purchased the jelly roll of this fabric at Joann's while I was working on the quilt top for my mother's piano bench made with the same square pattern. One of my favorite things to do is make things for other people. That's part of the reason I have made this blog too...( since I give away lots of the things I make, now I have a place to document and remember them.) This quilt however, is just for me.

After searching on-line for different panto-gram patterns I found a flower one I liked. I doodled it out a few times on paper and in my head. Then I was ready to tackle the quilt. I know it's nuts, but I just free-handed the pattern of flowers and swirls right onto the quilt. It was a perfect fit for me and this quilt.

In the center of each lattice cross I placed a flower similar to the ones in each square. Then I just squiggled my way down through all the borders.

I'm so excited, can you tell?! It's done, and so are the dishes... Yes, I ignored the dishes for 24 hours just to get the binding done. But hey, that's the price of art and it is "sew" worth it!


Posted by Picasa

Monday, July 18, 2011

Quilted Baby Shoes

A new quilt shop has opened in town called My Girl Friend's Quilt Shoppe. It is as darling as any quilt shop I've been too. On my first visit there I saw quilted baby shoes. The instructions were listed on a poster board for all to see so I took a quick picture on my phone and headed home to experiment.

The little girl ones are a lot of fun and always turn out cute. (Little girl things are like that, maybe it has something to do with pink and flowers...) I'm still in the process of tweaking my pattern for the little boy ones, but I'm making progress!

I can't wait to shop for more embellishments! Brown velvet ribbon really completed this pair.


Maybe if I take a picture of these little boy ones IN the flowers it will boost their cuteness!

No one in our family will fit into these darling little shoes, but that's okay. I'm in charge of the compassionate service for new babies and their mom's in our ward at church. I've already given two pairs away and am in the process of sewing more!
(Watch for purple ones soon!)

Sunday, July 10, 2011

Baby Chickadee!


We just returned from a Hochstrasser family reunion in St. Louis, MO. We went and did just about everything there was to do in that fabulous town. The highlight of the trip however, was seeing family. My youngest and newest Sister-in-law is due with a baby boy this October. She is super cute and going to be a great mom. I was so excited to put together a quilt for her new little one.


I went on line and literally searched for "cute baby quilt pattern". I found this "Precious Peeps Baby Quilt" from Joann's for free! Not only was it a free pattern, it wasn't too hard and it was DARLING!! (and oh so fuzzy!)


I kept myself busy on the 20 hour car ride to St. Louis sewing on the binding. (When I wasn't entertaining 3 little boys...)
I was "sew" happy with how it turned out and happy to brush up on my applique skills. (You never know when you will need them!) Now my mind is swimming with other variations I could do with this pattern. Just imagine penguins, owls, piggies....
Some one stop me!

Sunday, June 5, 2011

Quilted Piano Bench Cover

My mom made a beautiful little quilt a few years ago. On my last visit to MN I was the recipient of the scraps that were left. We decided they would be perfect for a piano bench cover for her piano. It worked out that most of the scraps were in strips. Perfect for Roman Squares. I cut the fabric into 2 1/2 " strips and got to work.


I sewed three strips to each other and then went back and cut the strips every 5" giving me these squares. The squares were then arranged and sew together making a Roman Square.


After I had three Roman Squares I pieced the rest of the quilt together.


Time for the fun part; quilting! Using my darning foot I machine quilted it with a few different designs. Now it's all ready to be a new cover for Mom's piano bench. Woot! Woot!

Thursday, June 2, 2011

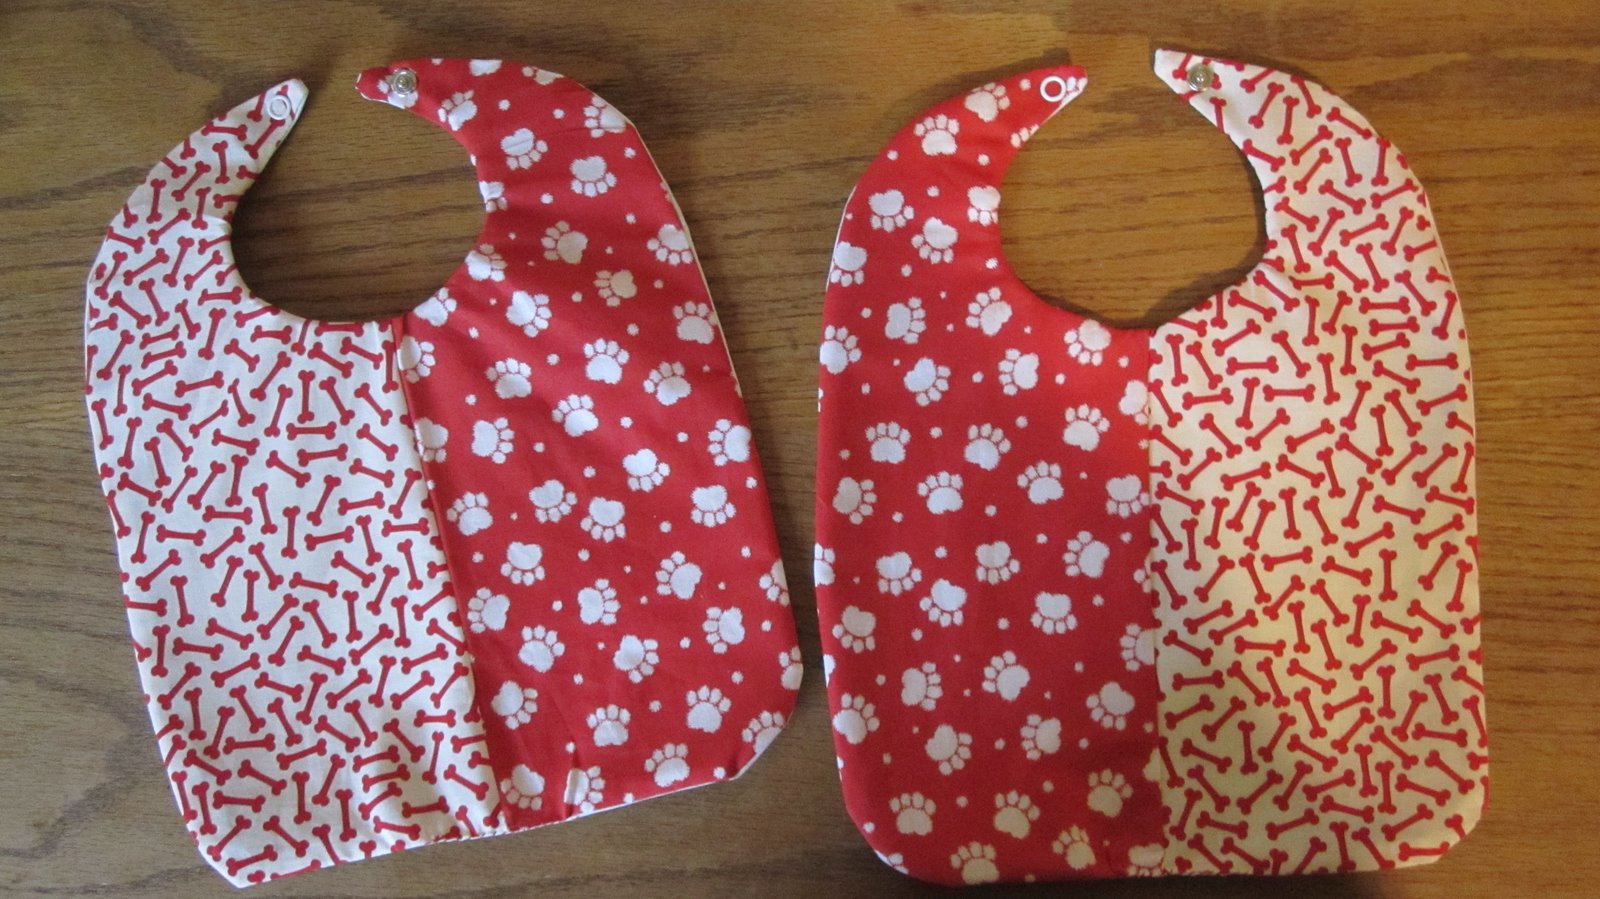
Baby Bibs!

Total props to my dear friend Melissa Archer for the pattern for these bibs. Before we moved away from Wisconsin she gave me a copy of her pattern and I was so delighted when I unpacked it and had something to do in this new town! She always makes some for the new babies in the ward back home. The tradition lives on now here in Utah.

With a little thought I was able to divide the pattern up and use two or four different fabrics for one bib.

The bib in the middle is made out of scraps from Joshy's baby quilt. He was pretty excited to see it.


A set of green bibs all ready to be given away.

I learned how to put on snaps with this project and have gone a little snap happy. The back of the bibs in "black-out" fabric and works great for stopping stains from leaking through. Sometimes I just put the bibs on backwards so that I can simply wipe the stains off.
Posted by Picasa